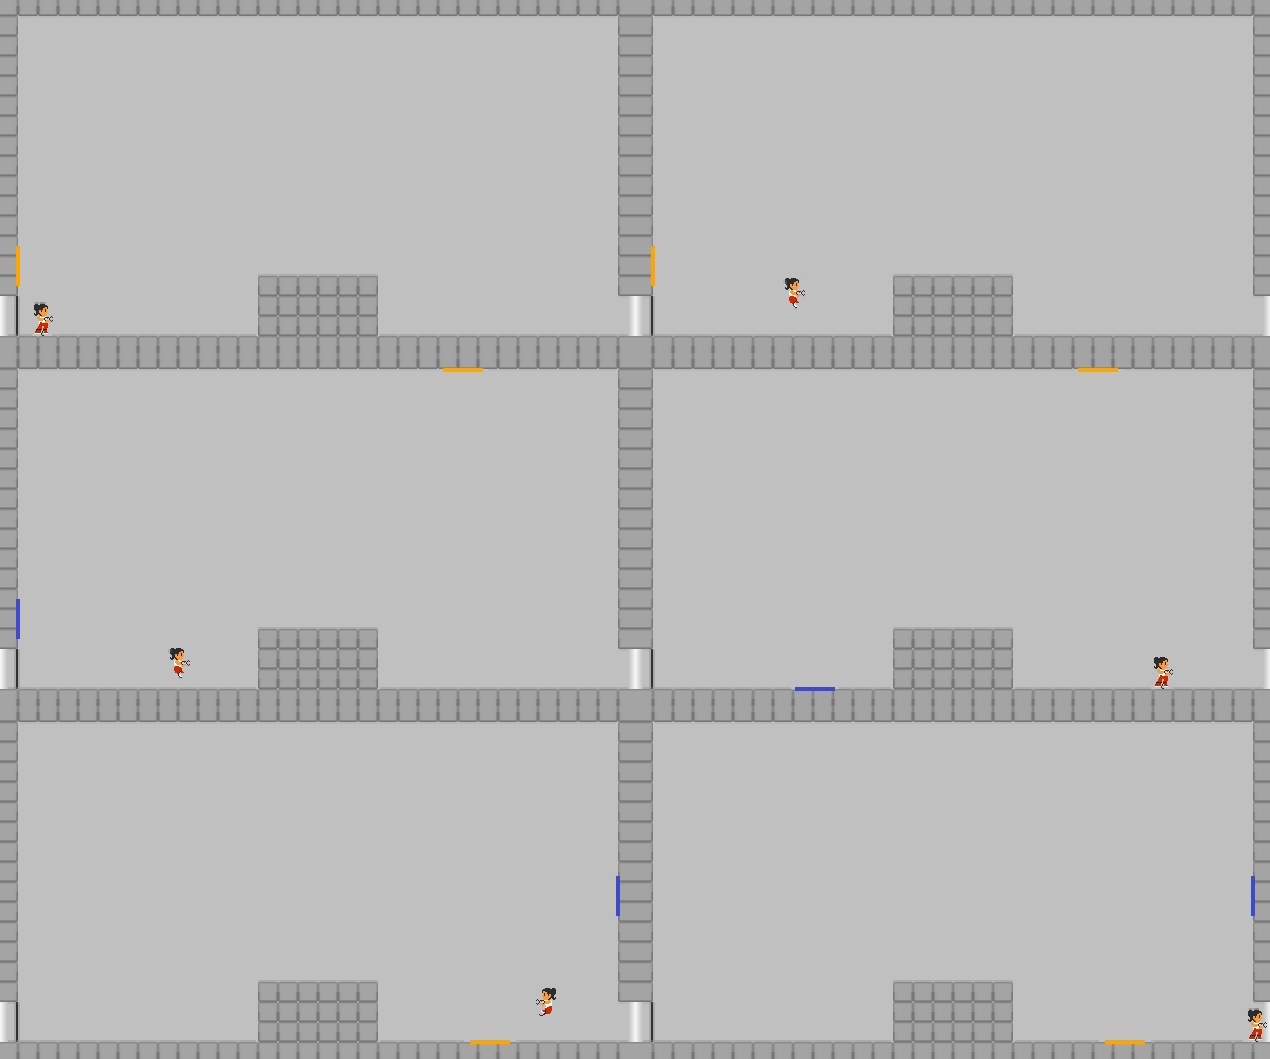
LITTLE ENGINE
2D Portal-like game engine
(2015 - 2017)

1. PRESENTATION
Here is the story : One day, a classmate that also has personal projects similar to mine comes to class with a little gaming console he just made. Tiny, cheap, 1.7" oled display, but working very well with demo-games he had just programmed. I was triggered. I had to make my own small console to play around with microcontroller, screens and multiple devices. I ordered some parts to use a phone display with an Atmel SAMD21 evaluation board I had, and used the manufacturing/shipping time to create a game engine for the microcontroller to run. The program has to be written in C++. As I have more ease with C#, I decided to go with it and tried to stick to C syntax whenever possible. The object side of the program and the classes will be rewritten in due time. For a 2D game interesting to program and to play I went with Portal.
What is used :
You can find the whole code for this project on my dedicated GitHub page
DISCLAIMER AND LIMITS
This game engine is meant to run a homemade 2D version of Portal, nothing else. I had programed it with in mind the final target : a SAMD21 microcontroler running at 48Mhz with a targeted framerate above 30 frames per second and not enough RAM to store the screen ! On the PC I virtually have endless resources and space, the whole loop rendering the next frame takes less than a millisecond and the display refreshes itself. All this has been taken into consideration during programming. For example, I never use floating point variables because my microcontroller doesn't have a floating point unit (FPU) and would take too much time to process it. I also refresh only the part of the screen that changes from one frame to the next, as sending data to the display will be the time-consuming/critical part of the loop.
2. AN OVERALL LOOK
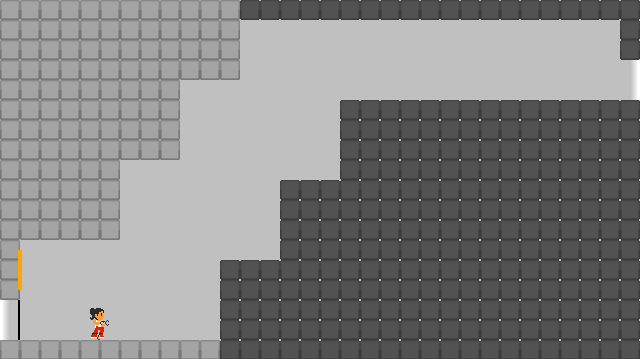
And here is a look at on of the level of the final game :

This game consists of an Engine that owns a Map and several Characters (Chell, that is the main character, a blue and an orange portal so far). The Engine is directly linked to the screen and sends it the new refreshed part. The map itself owns many Levels. Characters and Levels are consisted of Sprites. I use 10 different frames for Chell movements and 4 to make the blocks of the levels. Here is a simplified class diagram of the project :
3. THE PHYSIC PART
All this is done through the PhysicHandler part of the Engine class.
a. CALCULATE THE ACCELERATIONS AND SPEEDS
This part is about making Chell moves according to the past and current inputs of the player. In all the project, X and Y axis are completely separated. The fundamental principle of dynamic is applied for each one the. Chell's weight, a moving force from the input, friction from the air and the ground are applied to her. Here is a part of the KinematicEquation method for the calculation of the Y acceleration and speed :
private void KinematicEquation()
{
if(KeyPressed_UP)
{
f_ext_Y = f_JUMPFORCE;
}
else
{
f_ext_Y = 0;
}
f_friction_Y = chell.speed_Y * Math.Abs(chell.speed_Y) *
friction;
//ACCELERATION = SUM OF FORCES / WEIGHT
chell.acceleration_Y = (f_weight - f_friction_Y + f_ext_Y + f_portal_Y) / chell.weight;
//CURRENT_SPEED = LAST_SPEED + ACCELERATION
chell.speed_Y = chell.last_speed_Y + chell.acceleration_Y;
}
b. MOVING
Knowing the speed, Chell is moved pixel by pixel until she reaches her final location for this frame or encounter a block. If Chell encounters a portal, it teleports her to the other one. This is done by the MovingChell method simplified bellow :
private void MovingChell()
{
for(int n = 0; n < chell.speed_Y;
n++)
{
chell.Y_pp();
//MOVING CHELL ONE PIXEL DOWN
if(//FALLING INTO THE BLUE PORTAL)
{
BlueToOrange(true);
}
else if(//FALLING INTO THE ORANGE PORTAL)
{
BlueToOrange(false);
}
else
{
if(//SOLID BLOCK)
{
chell.Y_mm();//MOVING CHELL ONE PIXEL UP
break; //DONE MOVING
}
}
}
}
c. TELEPORTING
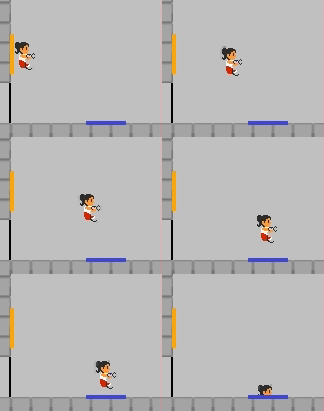
The teleportation process is made through the BlueToOrange method. The
boolean input states if the teleportation goes from blue to orange or from orange to blue. The X and Y
accelerations and speeds are switched if necessary. Here is an example of Chell falling endlessly into a
blue portal to be teleported to an orange portal on the left wall :

private void BlueToOrange(bool
_b2o)
{
/* other tests*/
if(portal_blue.Orientation ==
"bot" && portal_orange.Orientation ==
"left")
{
int
tmp1 = chell.speed_Y;
int tmp2 = chell.acceleration_Y;
chell.speed_Y = chell.speed_X;
chell.acceleration_Y = chell.acceleration_X;
chell.speed_X = chell.last_speed_X = tmp1;
chell.acceleration_X = tmp2;
chell.SetPosMid_X( portal_blue.posMid_X );
chell.SetPosMid_Y(
portal_blue.posMid_Y );
f_portal_Y = -_f_PORTAL_Y;
}
}
d. SHOOTING A PORTAL
The UpdatePortalPos method is called whenever the player tries to shoot a portal. From the current Chell position and the shooting direction (portalShot_X and portalShot_Y), it finds the collision block of the map for the portal to be placed on. Finally, if the block enables portal placing on its surface the new portal is placed and displayed. If not, the portal is placed back in his previous position. Bellow an example of a blue portal shot on the right wall :
private void UpdatePortalPos()
{
if(//CHELL NOT CURRENTLY IN A PORTAL)
{
if(blueNotOrange)
{
character backup =
new character(portal_blue);
/* other tests*/
if(portalShot_X > 0 && portalShot_Y == 0)
{
portal_blue.Rotation( "rigth");
while(portal_blue.pos_X == ALLOWED_BLOCK &&
portal_blue.pos_Y == ALLOWED_BLOCK)
{
portal_blue.AddX(
portalShot_X );
}
portal_blue.AddX(-portalShot_X);
if(portal_blue.pos_X != ALLOWED_BLOCK ||
portal_blue.pos_Y != ALLOWED_BLOCK)
{
portal_blue = backup;
}
}
}
}
}
4. THE RENDERING PART
All this is done trough the DisplayHandler part of the Engine class
a. DISPLAYING AN ITEM
In this project, everything displayed is done with Bitmap objects (the screen itself is a Bitmap). These objects will be replaced by 2D-arrays of uint16 when I'll come to C++ (see the 4.b. part). The main method to display items is addToScreen :
private void addToScreen(Bitmap
bmp,int start_X, int start_Y)
{
for(int
y = 0; y < bmp.Height; X++)
{
for(int x = 0; x < bmp.Width; y++)
{
screen.SetPixel(x + start_x, y + start_y, bmp.GetPixel(x, y));
}
}
}
This method is straightforward. The character is placed and displayed when called with the Bitmap of the current sprite and the top left hand corner position. This method can be called a lots of times in one loop, since while the characters are moving I have to erase them on their previous location by redrawing the map before drawing them back on the new location. So at the very least, this method gets called twice per Engine loop when something is moving. Of course this is not the most optimized way to work with .Net and Bitmap, but this is how I'll have to do it when I'll be using a microcontroller and a small display, pixel per pixel.
b. ERASING AN ITEM
Now comes the tricky part. Since I can't remember the pixels of the whole screen due to the lack of RAM of my microcontroller, I had to come with a clever way to store the map. The screen I am using is 640x360 pixels. A nice common divider of those two is 20, giving a map of 32x18 sprite blocks of 20x20 pixels. The whole level is processed like an int[32,18] containing the block types. According to the current position of the character, the nearby blocks are scanned and the map is redrawed due the character stepping on it. This is done with the wipeCharacter method :
private void wipeCharacter(Character
chr)
{
for(int
x=chr.pos_X/map.tile_size; x<=chr.posBorder_X/map.tile_size; x++)
{
for(int y=chr.pos_Y/map.tile_size;
y<=chr.posBorder_Y/map.tile_size; y++)
{
addToScreen(
map.level[lvl].GetBlock(x, y), x * map.tile_size, y * map.tile_size);
}
}
}
c. SPEAKING OF BLOCKS ...
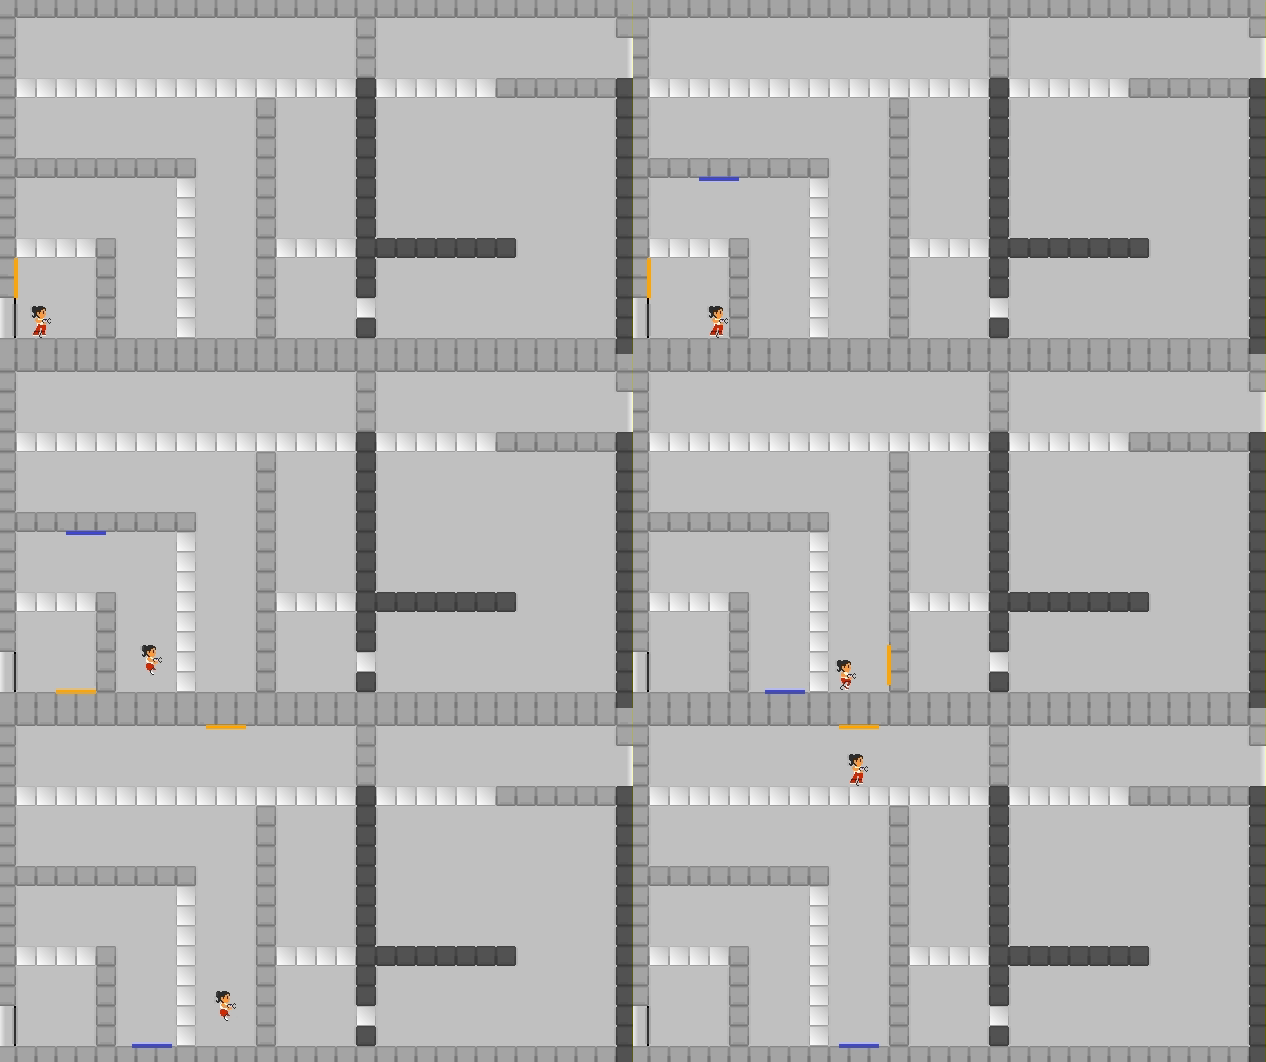
Above are the different blocks used : the background block, a solid regular block, a dark block where portals don't stick, and a glass block where portals pass through and Chell can step on. These blocks compose all the levels in the 32x18 array and are referred as an integer. Here is an example of a level that utilize all blocks :

5. CONCLUSION
When I started this project, I didn't have any idea of what the game was going to look and feel like. I did it for fun and the whole project came up pretty good. I've done many things in this project, from finding good sprite for Chell movements and creating the block map, to creating a simplified physic engine. I spent a lot of time debugging and recreating the conditions of the problems (about half the time) to end up with a stable and glitch-free game.
WHAT'S NEXT ?
Now the program will have to be rewritten in C++ to work with a microcontroller. I will not have an easy debugging solution since I plan to work with the Arduino IDE which is way more dull than Visual Studio and his embedded step-by-step debugger. But I stay confident since it work well on PC with no error catching.